Creating A Shapefile with ESRI ArcMap Instructions
Author: Rebecca Vandewalle rcv3@illinois.edu
Created: 5-21-21
This notebook contains instructions for how to create a shapefile. These instructions are intended for those who have access to ESRI ArcMap.
Contents
Introduction
This notebook is intended to demonstrate how to create and edit a point shapefile using reference data from a georeferenced image. The point shapefile can then be used in maps. This demo will use ESRI ArcMap.
Learning Goals:
- Create a new shapefile and add point data
- Edit an existing shapefile
Gather Reference Data
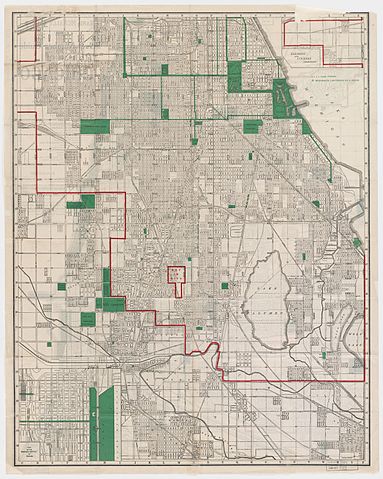
The map image we will work with is Rand McNally & Co.'s new street number guide map of Chicago (1916) from the Harvard Map Collection. The initial map image is available at Wikipedia here. For this tutorial we will be using an image of the map that has been georeferenced, which means that it has been saved with spatial information. The files to use, Chicago_georef.tif, Chicago_georef.tfw, Chicago_georef.tif.aux.xml, and Chicago_georef.tif.ovr are stored in the Georef_Tiff folder. Although the data for time image are stored in four different files (and each of these files are needed!), to ArcMap it will look like one image.
Prepare to work with the data
Now that you have the data we will start working in ArcMap. If you are accessing ArcMap using a remote desktop, you will first need to transfer your files to the remote desktop.
Open ArcMap
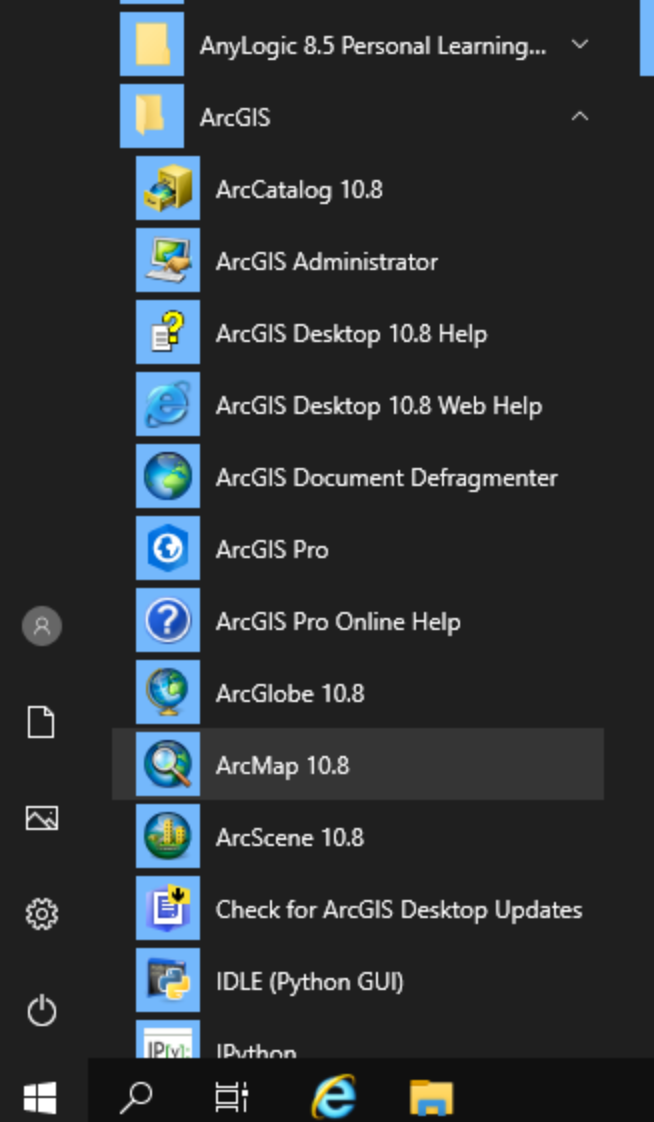
To open ArcMap, click on the Start Menu, click on the ArcGIS folder, and then select ArcMap 10.8. A new ArcMap Getting Started window will open. Select Blank Map.
 |
 |
A new ArcMap project window will open:

Load the Chicago Map GeoTIFF
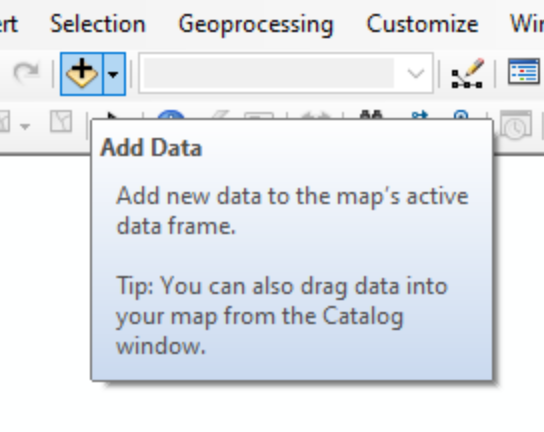
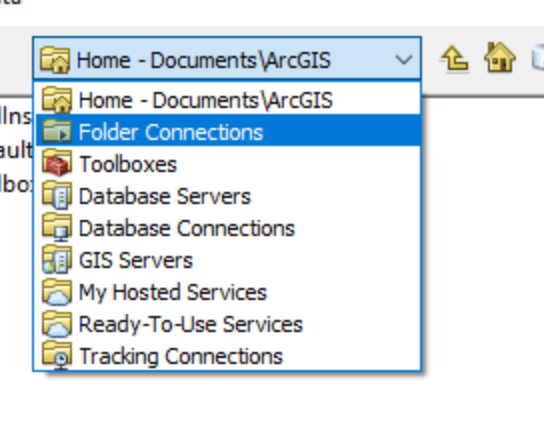
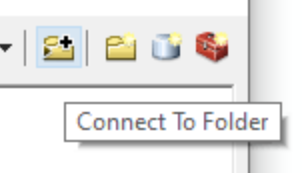
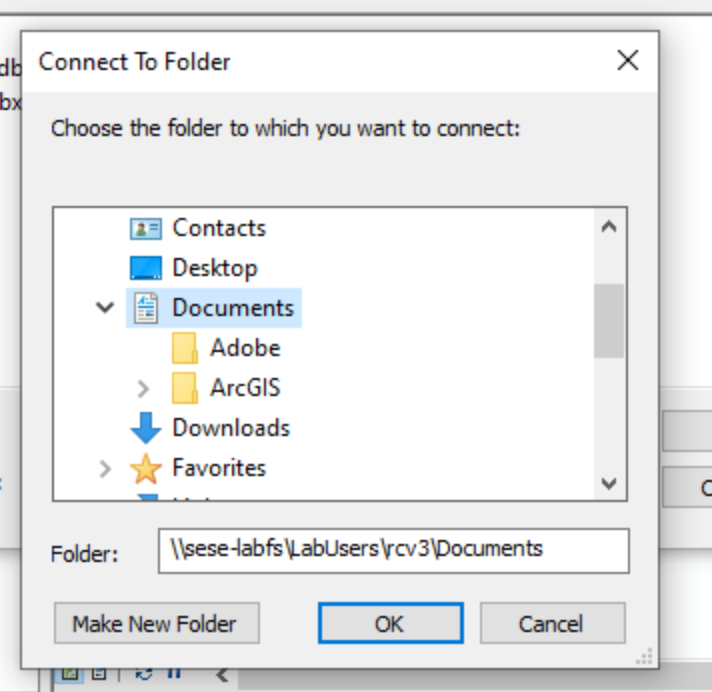
First you need to add data. Select the Add Data button. This will open the Add Data window. In the Add Data window some folder options will be displayed, however if the folder you have stored your data in is not one of the drop down options, select the Connect to Folder button and then navigate to folder holding your data and select OK.
 |
 |
 |
 |
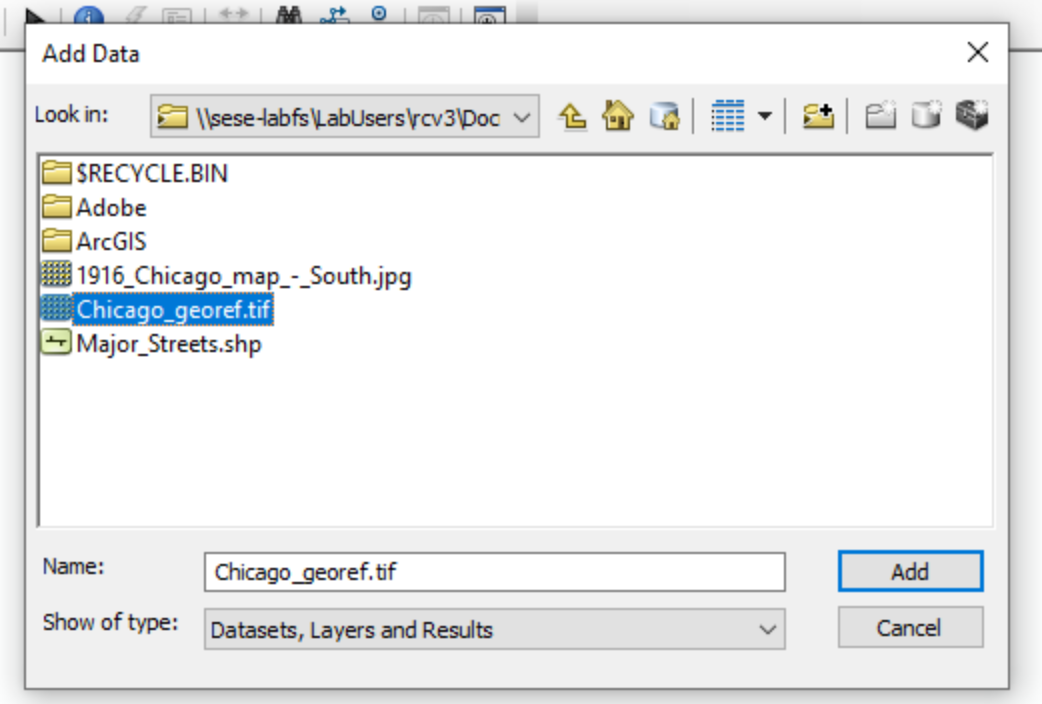
After connecting to the folder with your data you will see the data files you have uploaded. Select Chicago_georef.tif and click Add.
You will now see Chicago_georef.tif loaded into your project. Now would be a good time to save your ArcMap file by selecting File -> Save.
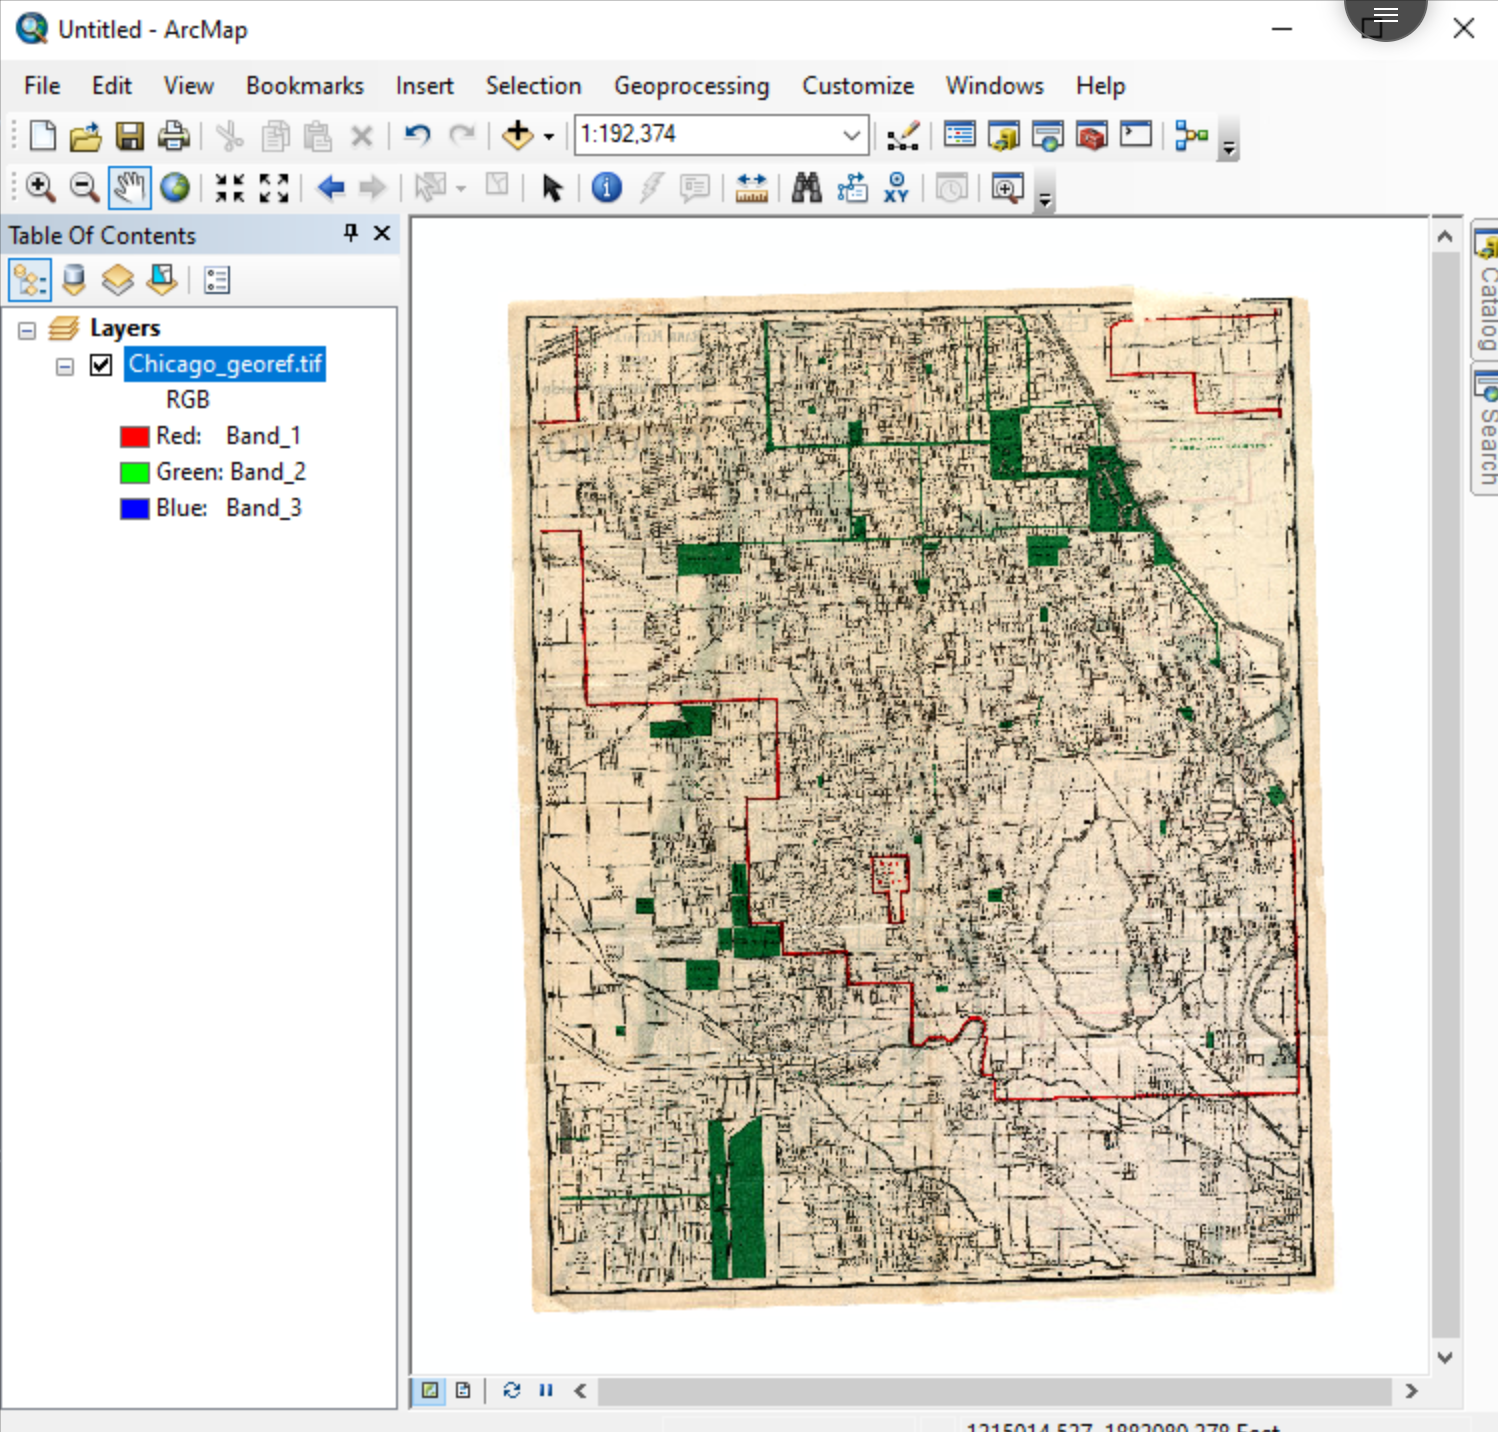
In this tutorial, we will use Chicago_georef.tif as a reference file and add points representing park locations to a Shapefile, which is a file format for geographic data.
Create a New Shapefile
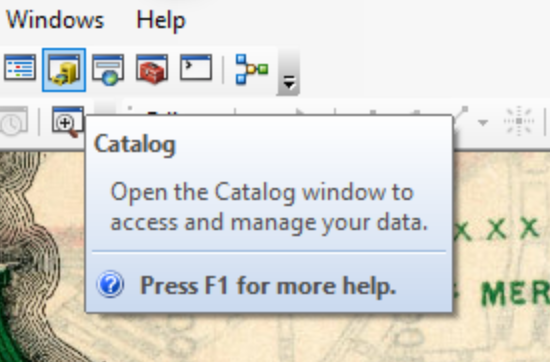
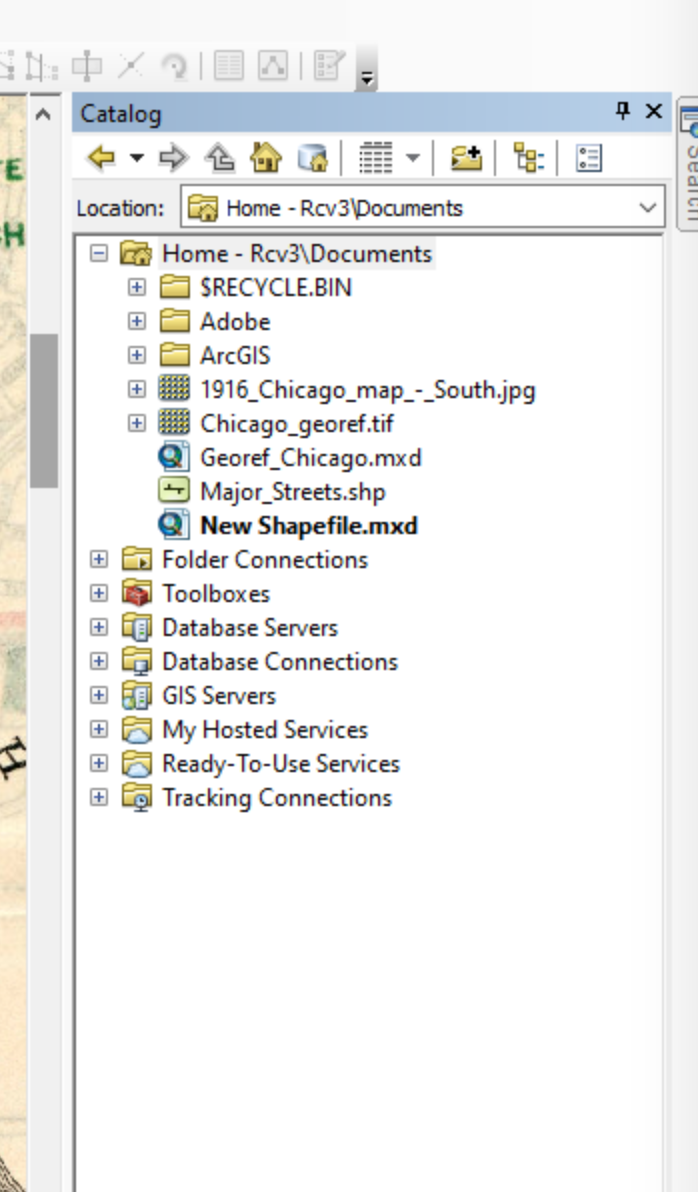
To create a new Shapefile, first open the Catalog sidebar by clicking the Catalog button. You should see a list of folders. If you do not see the folder with your data in the list, select the Connect to Folder button and follow the prompts to add your folder to the list (you may have already done this in the first step). Once your data folder is visible, click the + on the left of the folder icon to expand the folder. You should see your Chicago map image, Chicago_georef.tif, in the folder.
 |
 |
 |
 |
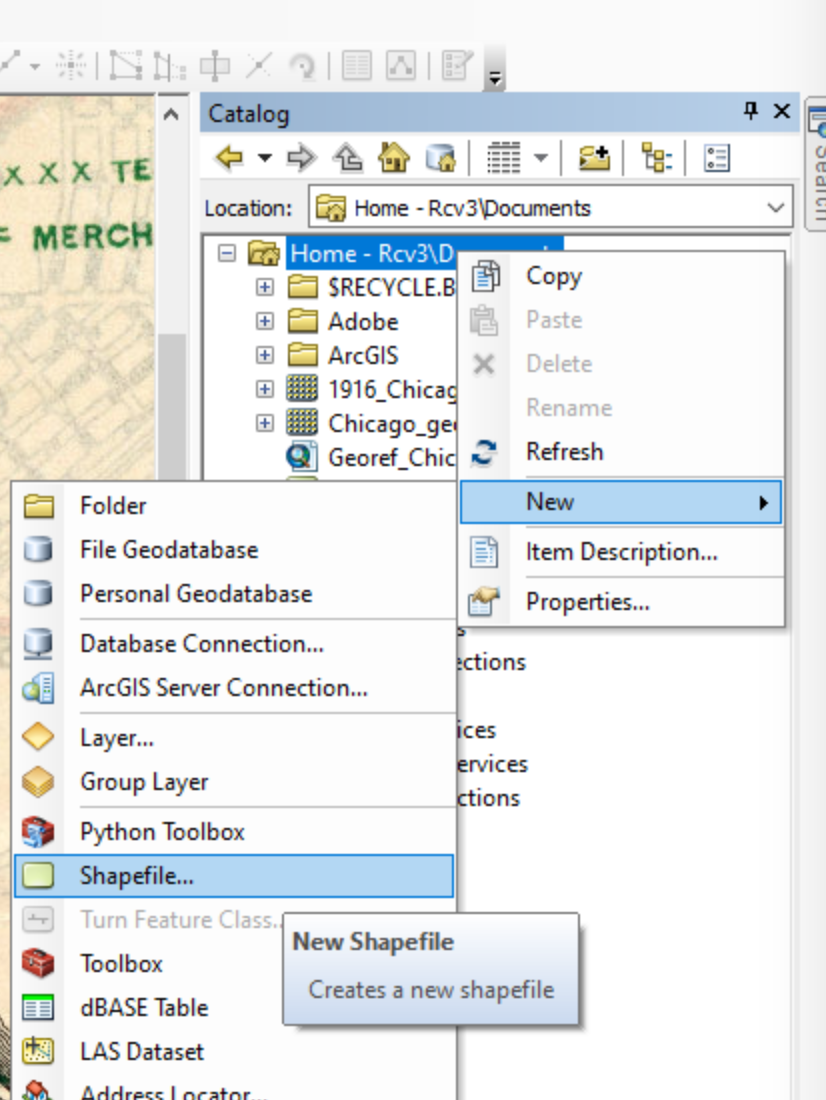
Next right click on the folder that you want to store your new Shapefile in and select New -> Shapefile.
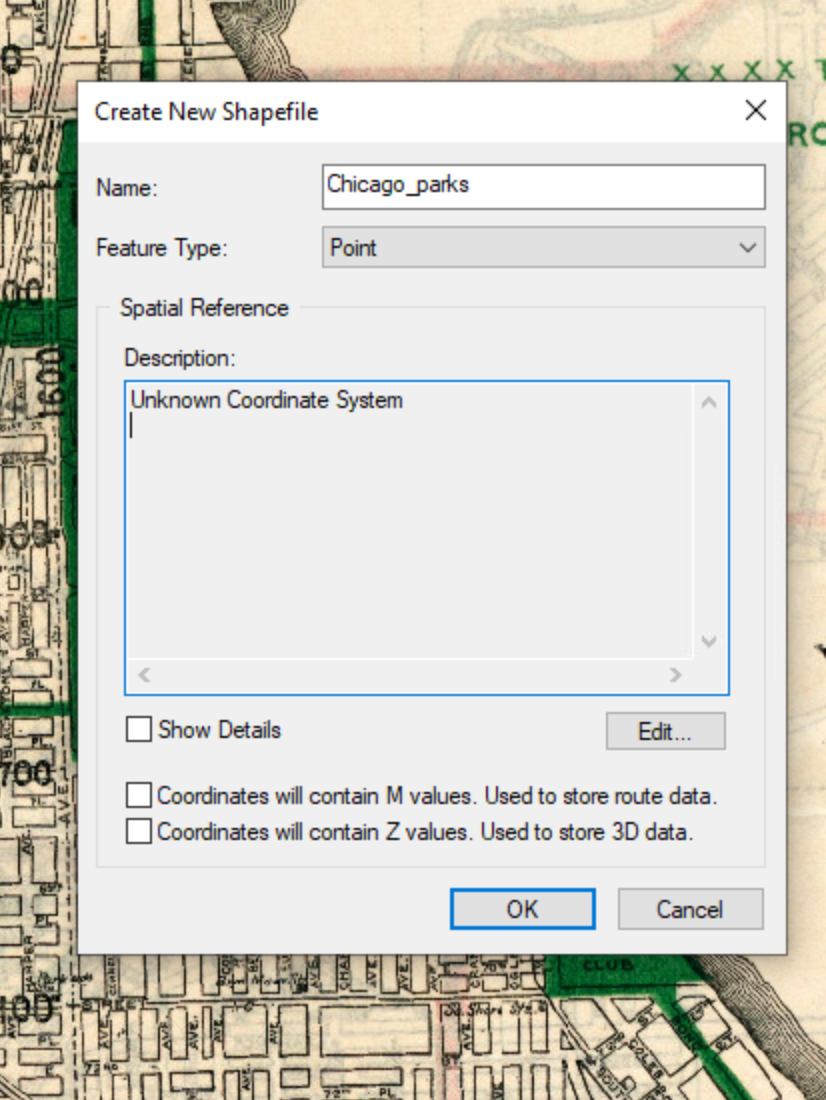
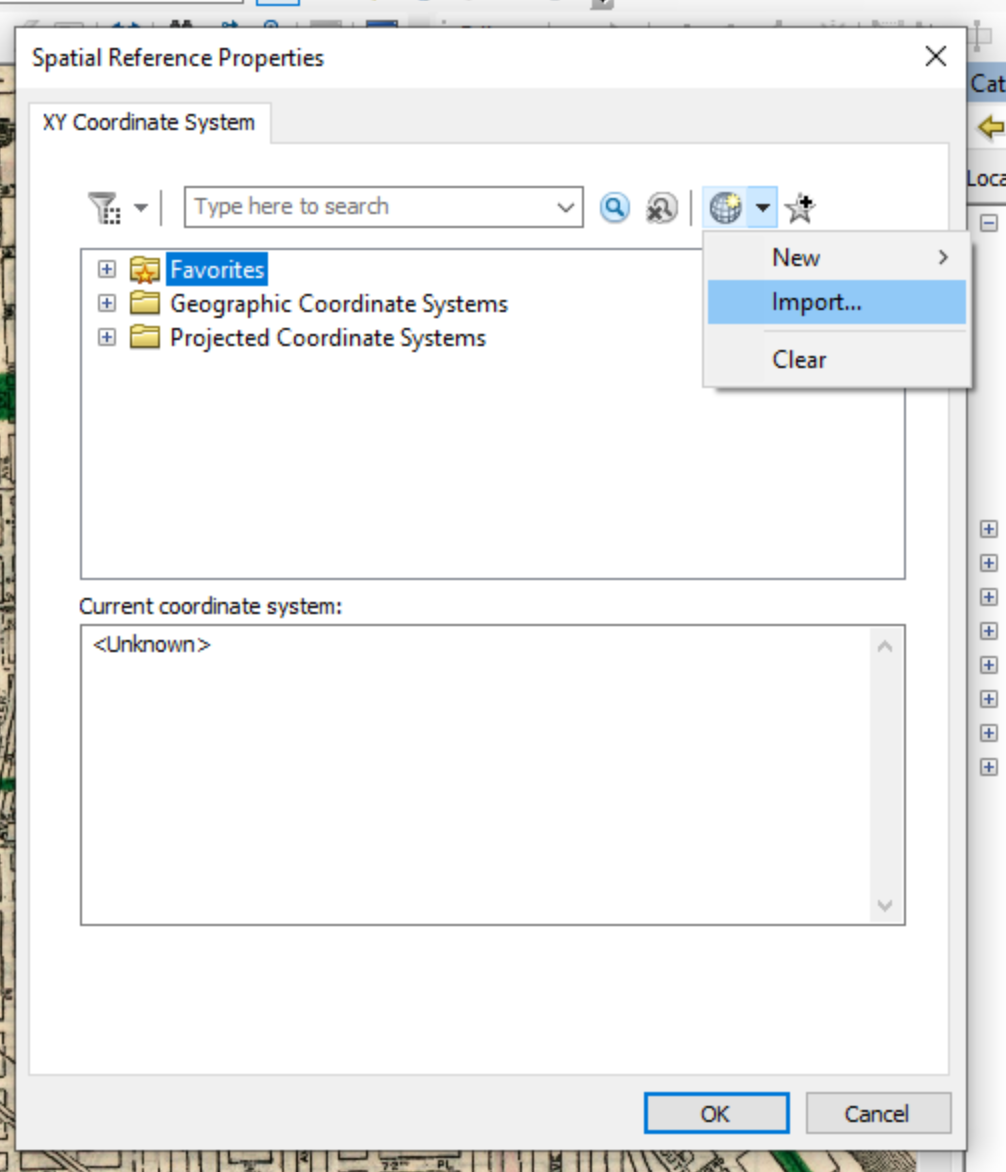
A Create New Shapefile dialog box will appear. Type in Chicago_parks for the Name of your new Shapefile and make sure Point is selected for Feature Type. Next, under Description, select Edit.... The Spatial Reference Properties window will appear. Click on the arrow to the right of the star icon and select Import. In the window that opens, select Chicago_georef.tif to select the same spatial reference as this file and click Add. The coordinate system will appear under the Favorites folder in the Spatial Reference Properties window. Select OK. When this is finished, you will see a new Shapefile in your data folder called Chicago_parks.shp.
 |
 |
 |
 |
Adding Initial Fields
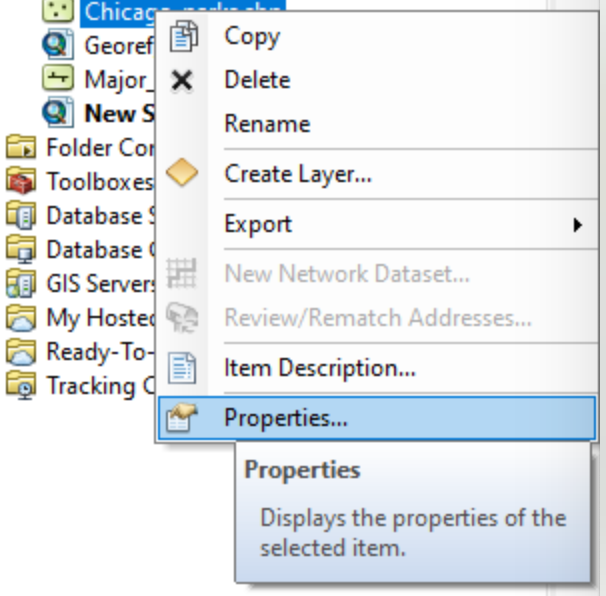
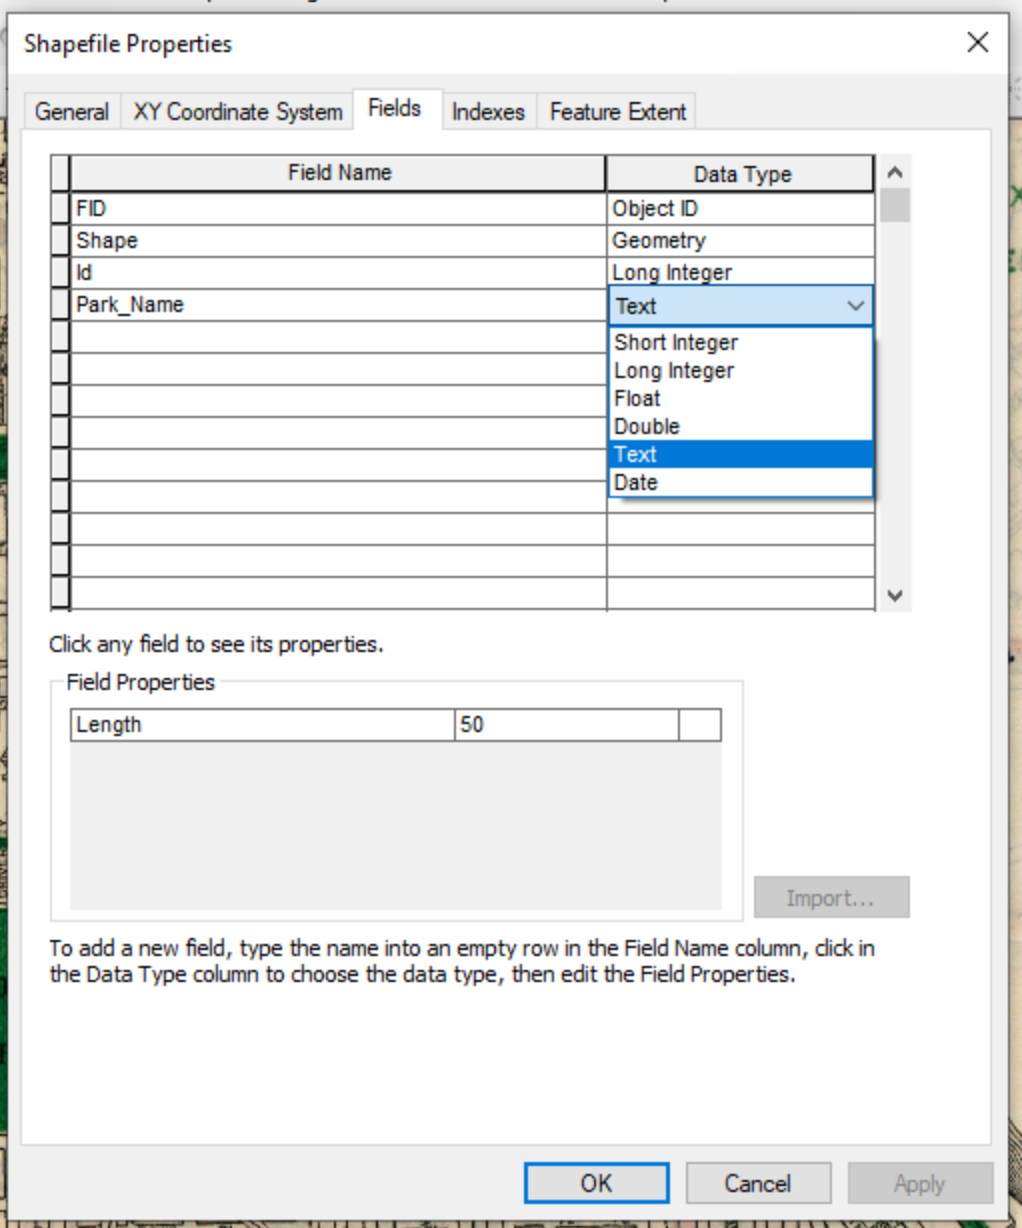
Now you will add some fields to your Shapefile so that you can add data to the fields while creating new features. Right click Chicago_parks.shp and select Properties.... In the Shapefile Properties window, select the Fields tab.
 |
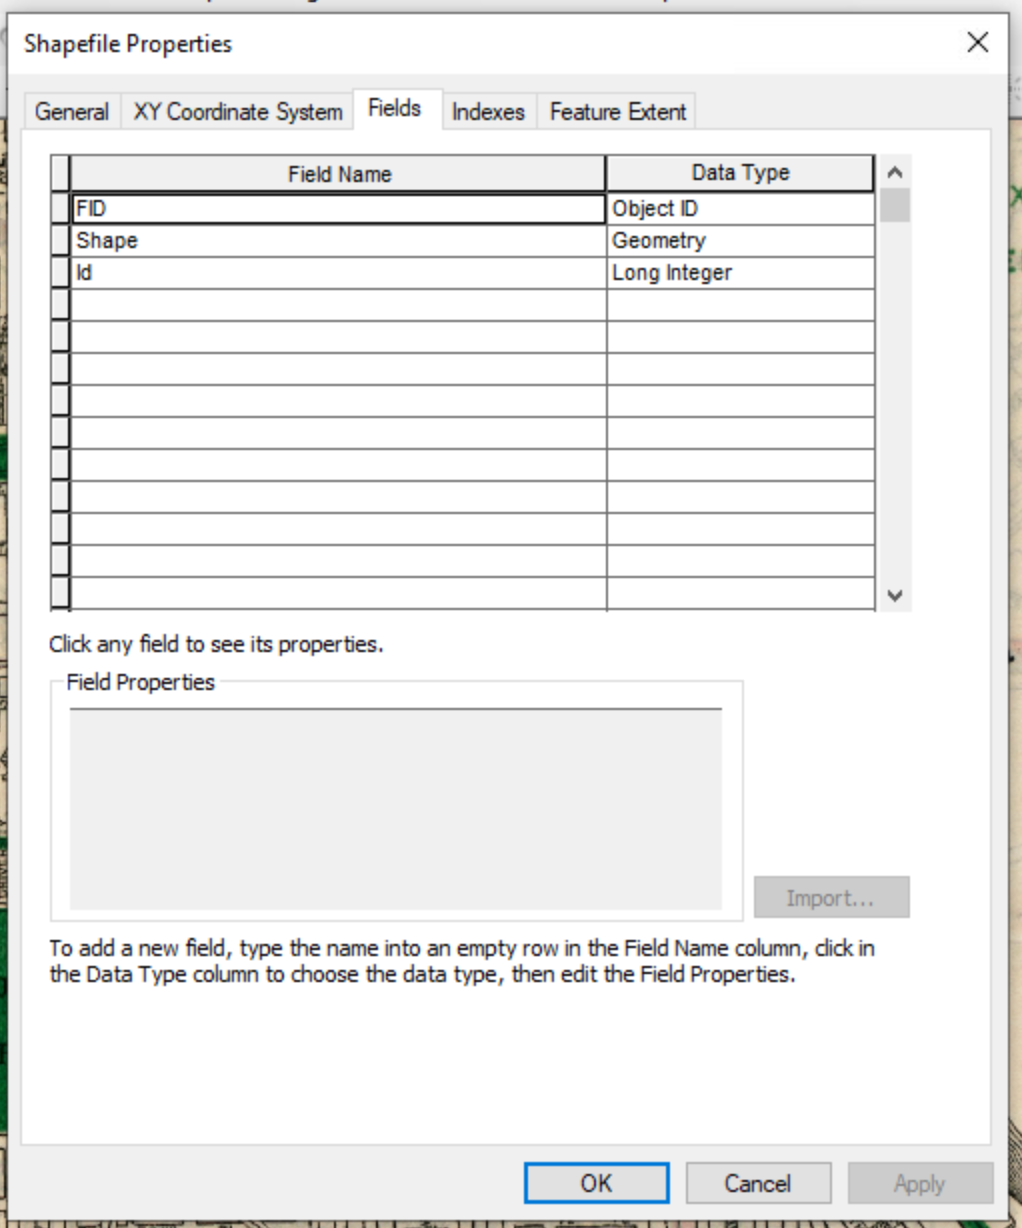 |
Click in a empty cell in the Field Name column and type a name for the field. The field name must start with a letter and may not include most special characters. Stick with a-z, A-Z, 0-9, -, and _. There are also restrictions on field name length, so aim for a shorter field name (aim for less than 30 characters). Once you have entered a name, click on the cell in the same row in the Data Type column and select the data type from the drop down box. In this example, we have added an ID field and a Park_Name field. Note that ArcMap adds two default fields, FID and Shape - do not change those. As ArcMap will manage the FID field, it is useful to have a separate ID field that you have control of for your records, especially if you will be adding, deleting, and possibly merging features.
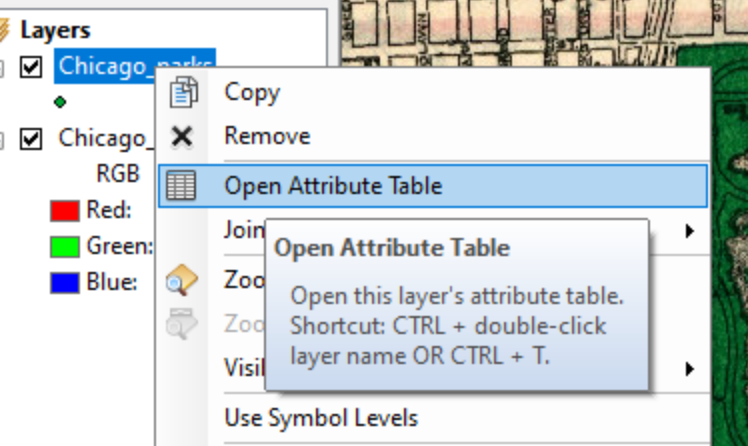
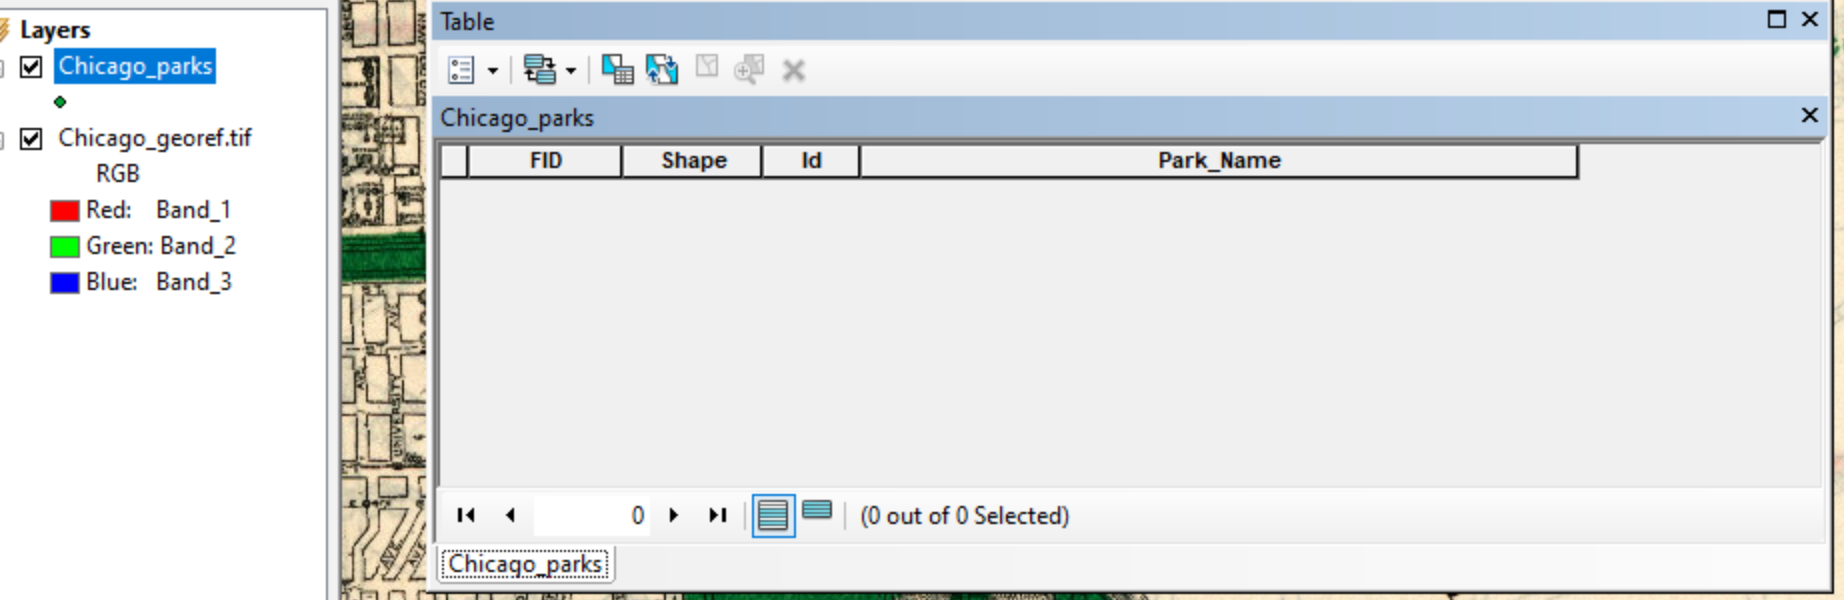
After you have finished, your shapefile will be added to the map. Now, right click on it in the Table of Contents and select Open Attribute Table. In the Attribute Table you will see the fields you have added but the table will be empty because you have not yet added any features (i.e. points). Save your map.
 |
 |
Setting Up an Editing Layout
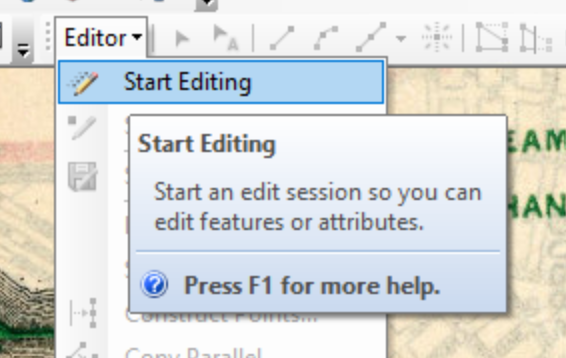
First, the Editor toolbar should be visible by default. If it is not visible, select in the top menu bar Customize -> Toolbars -> Editor. To do any sort of editing to a Shapefile, including adding new features or editing existing features, you will need to be in an Edit Session. This signifies to ArcMap that you will be changing some part of a file. To start an Edit Session, click the Editor tab of the Editor toolbar and select Start Editing. Note that your edits will not be saved unless you select Stop Editing, Save Edits or Save Edits, and you can easily lose your work if something disrupts the program, so it is highly recommended to save often!
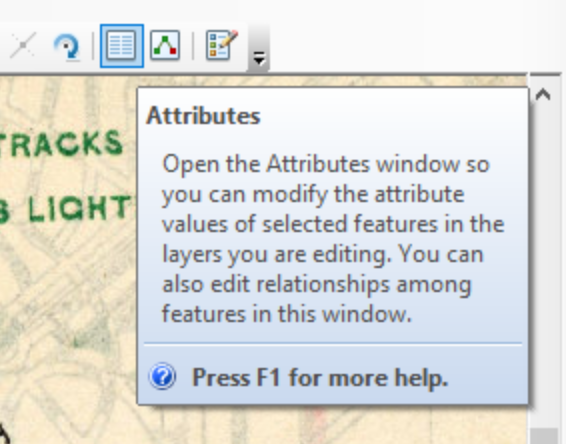
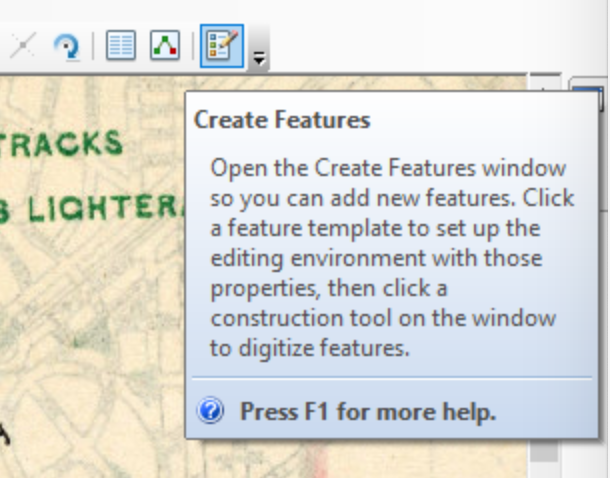
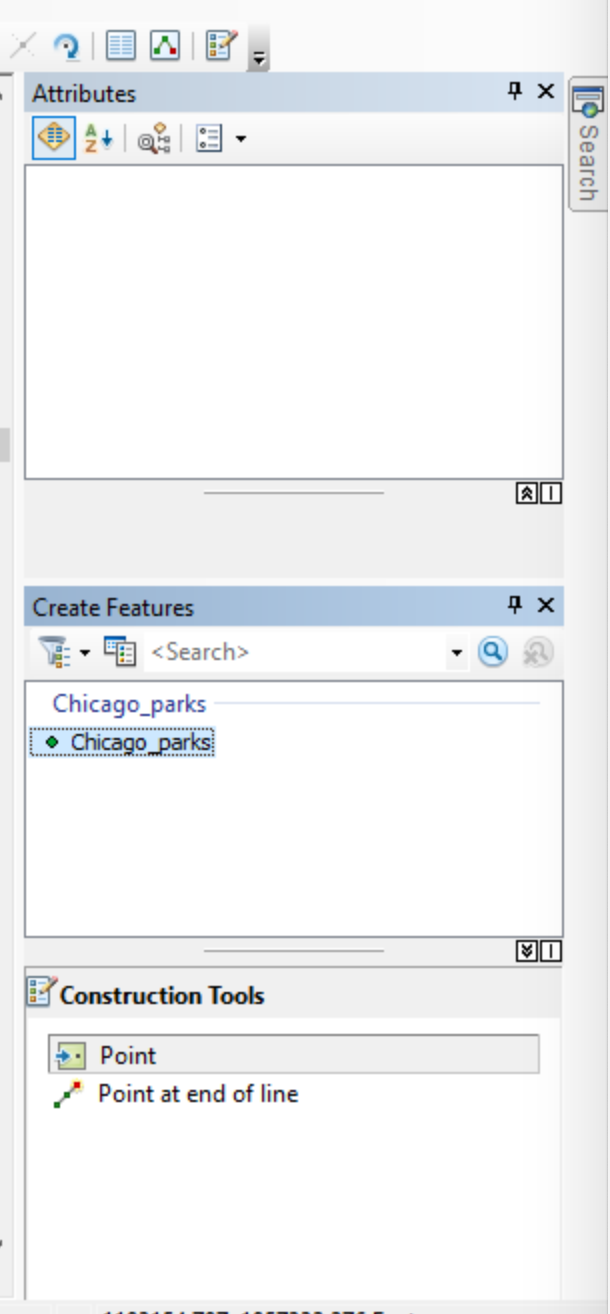
Once you have started an edit session you will need to have two side bars visible: the Attributes sidebar and the Create Features sidebar. Click on the Attributes and the Create Features buttons to open the sidebars.
 |
 |
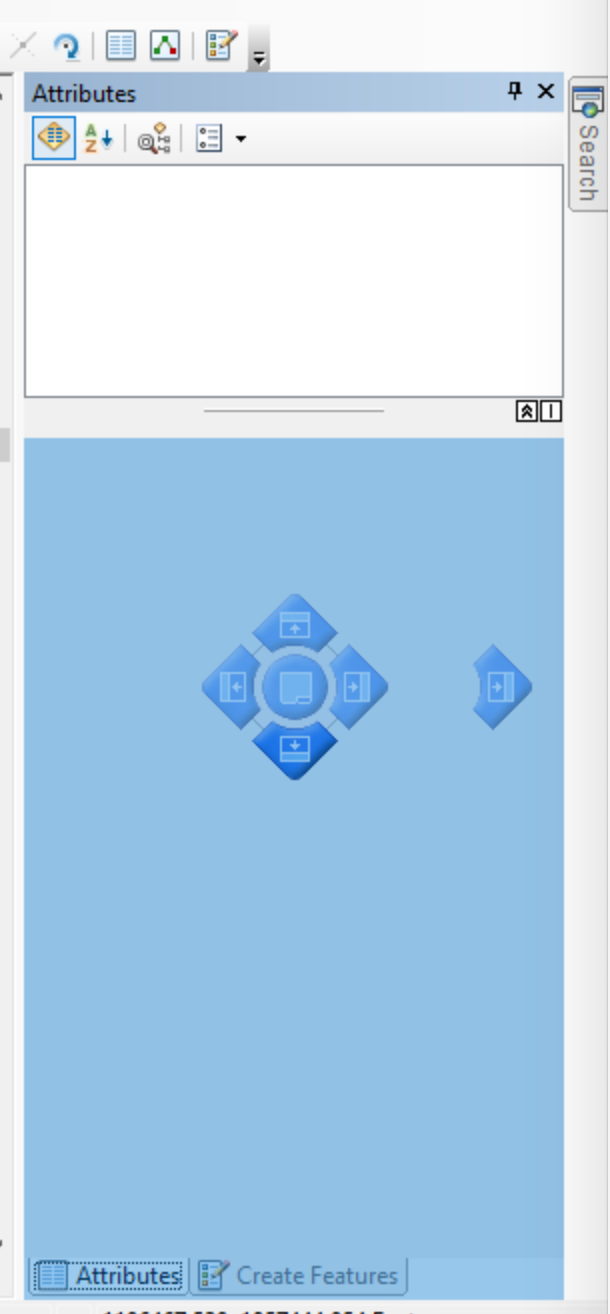
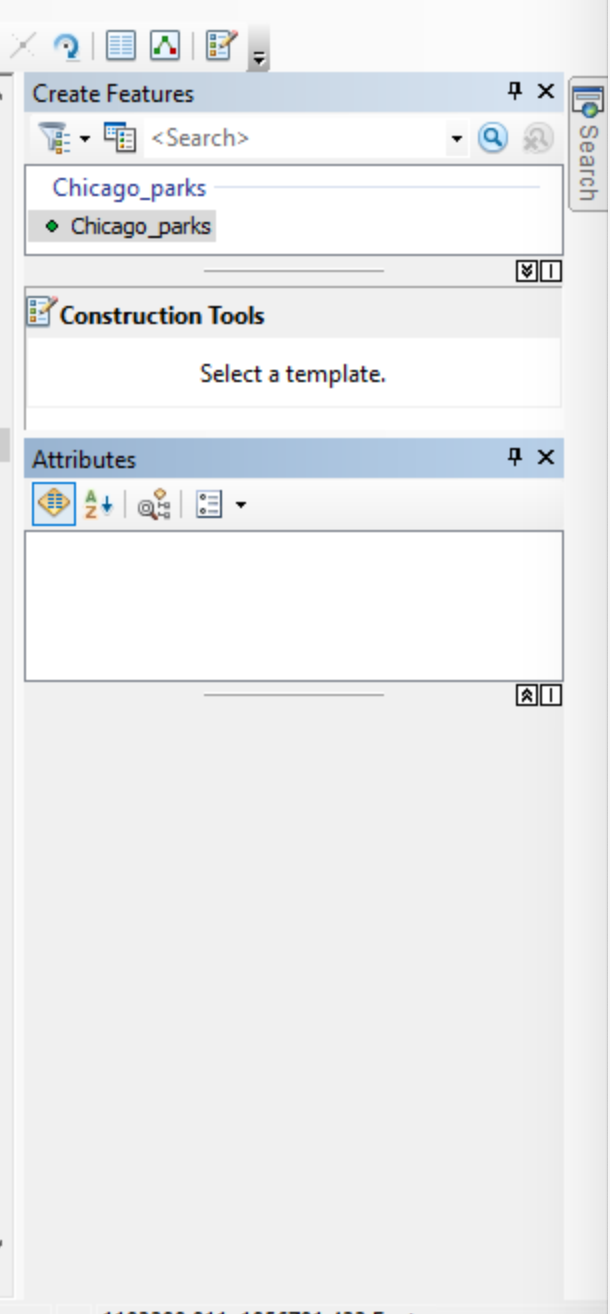
By default, both sidebars will open on the right hand side. You can see that both are open because there are small tabs that say Attributes and Create Features on the bottom of the sidebar. For convienience when editing, however, it is preferable to see both sidebars at the same time. To do so, select one of the tabs, click and drag over the side bar until the blue docking arrows appear. Release the mouseclick on the bottom arrow within the sidebar. After that you will see both Attributes and Create Features areas on the sidebar. If you hover near the top of one of the area headers, your mouse will change to an adjust divider icon and you can click and drag to change where the starts of the areas are.
 |
 |
 |
Adding Points
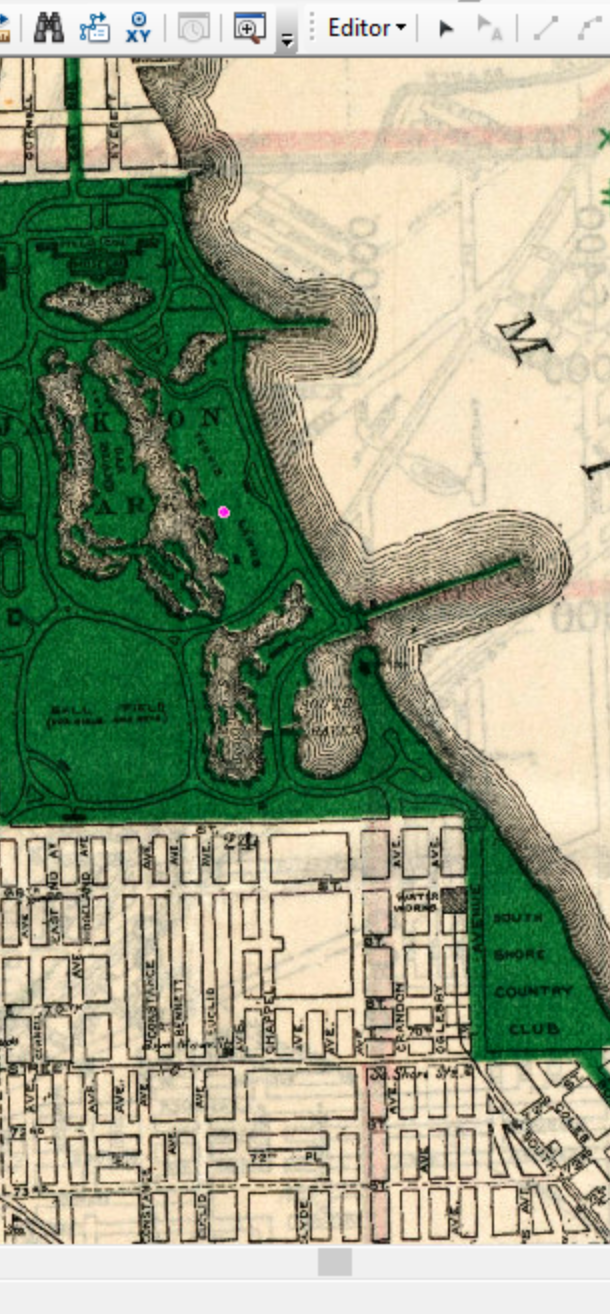
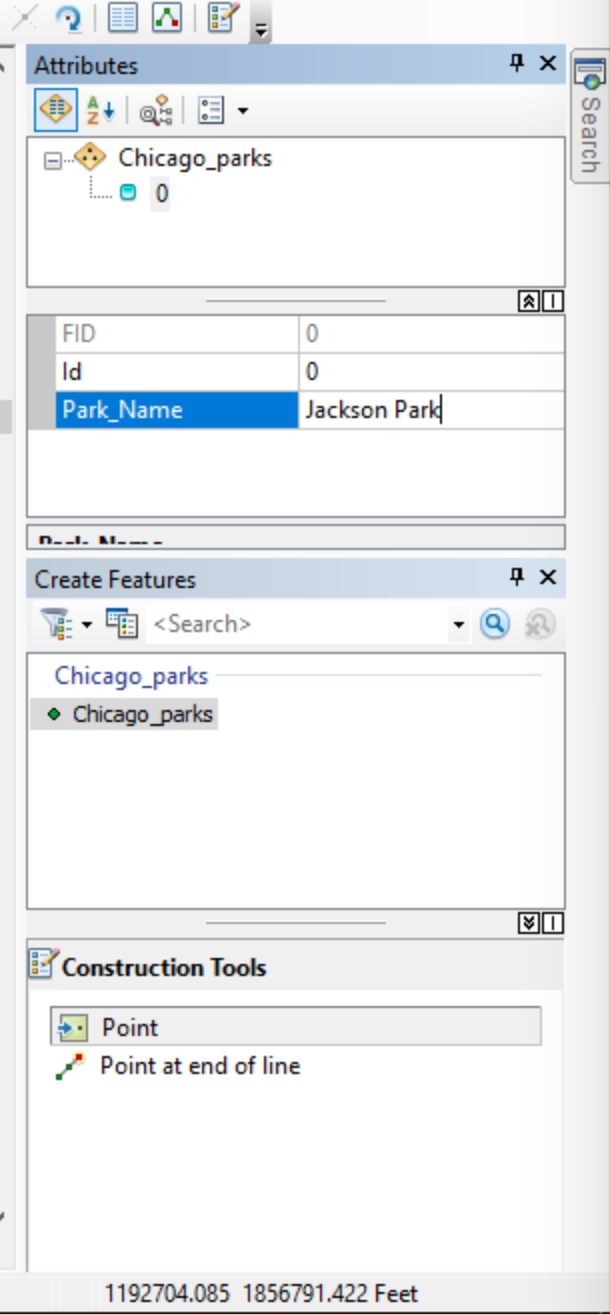
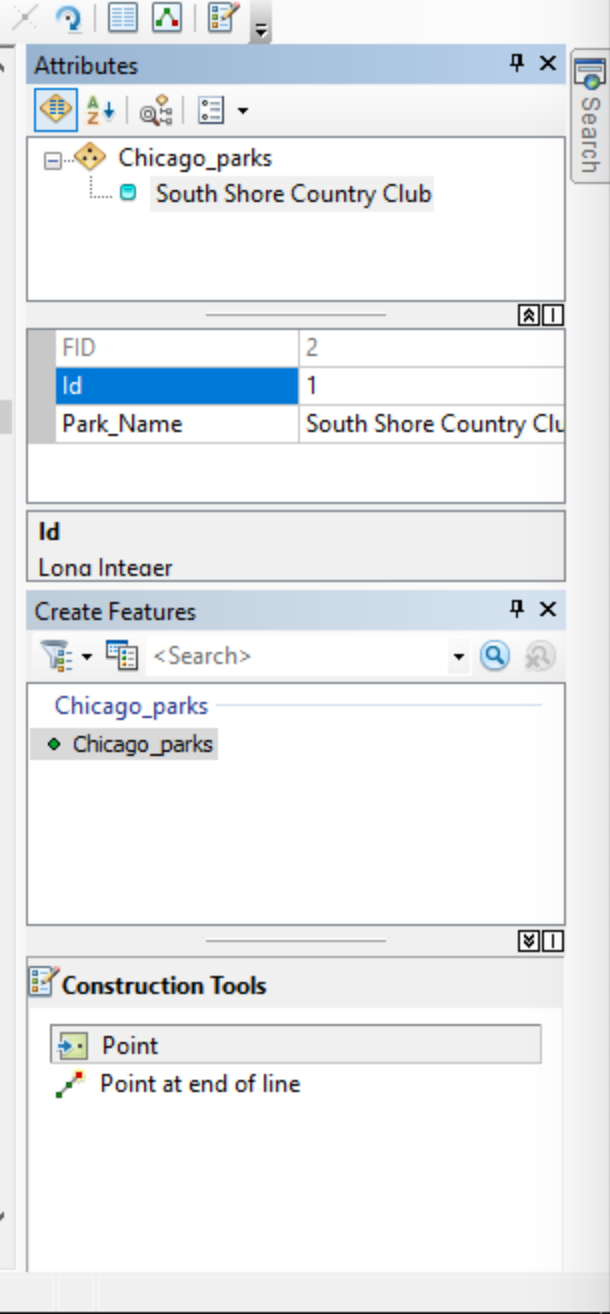
Now you can add your first point! In the Create Features panel, Chicago_parks should be selected. Select it if it is not. Then, in Construction Tools, make sure Point is selected. Now when you move your mouse over the center of the map you should see a small point following the mouse. Click on the map to add the point to that location. In this example, I added a new point near the center of Jackson Park. After you have added a point, you should see a 0 under Chicago_parks in the Attributes panel, and a pop up panel directly below with the fields you have added.
 |
 |
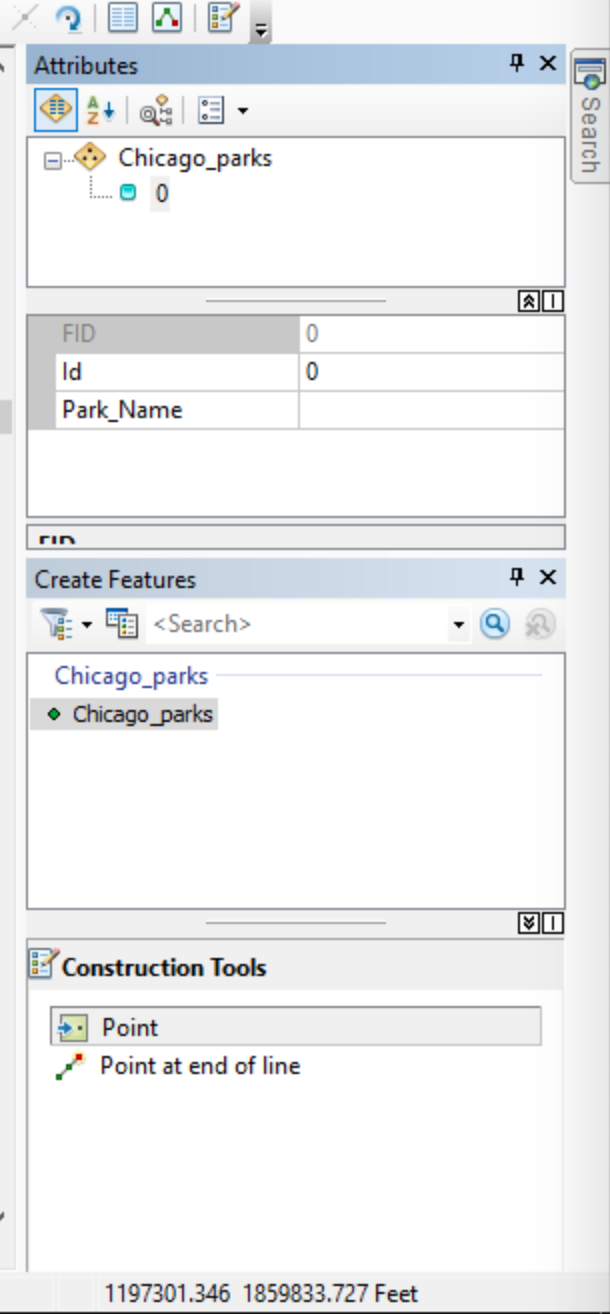 |
You can add data to the fields by clicking in the box to the right of the field name and typing in the new value. After you have added the name to the Park_Name field, the name will be displayed under Chicago_parks in the Attributes panel. I have added a second point on the map and changed the name to South Shore Country Club.
 |
 |
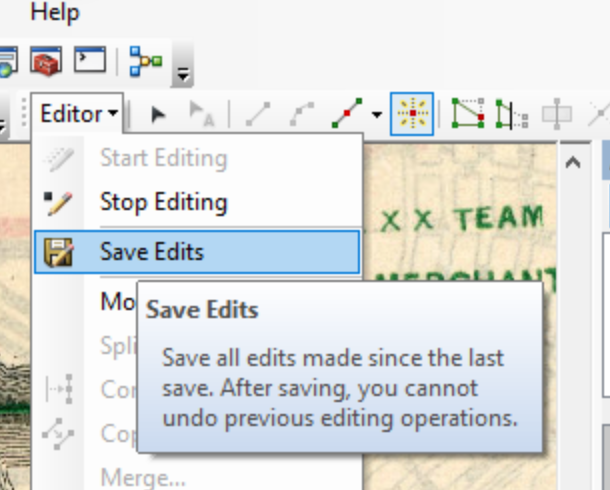
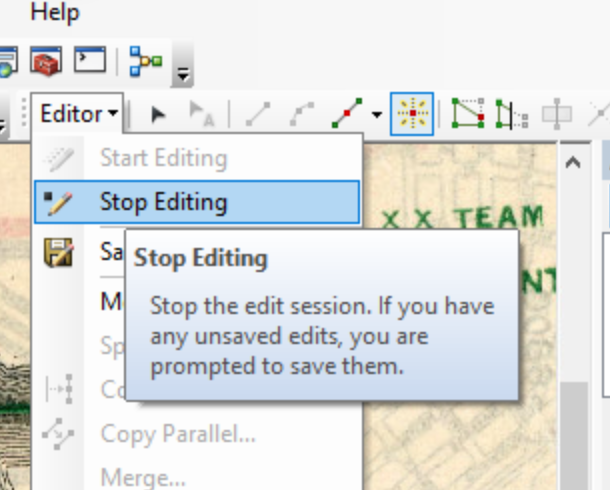
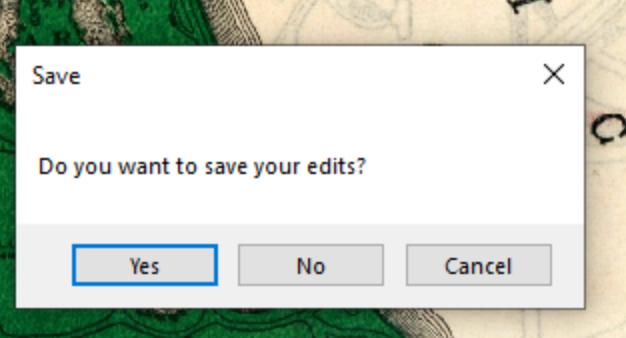
That is the basic actions needed for adding new points. You should select Editor -> Save Edits in the Editor toolbar frequently to save your edits. When you have completely finished, select Editor -> Stop Editing in the Editor toolbar. If you select Stop Editing without first saving your edits, you will be prompted to save before the edit session will close.
 |
 |
 |
Finally, you can open the Attributes Table and see that it has been updated with the new features you have added.

Changing the Point Symbol
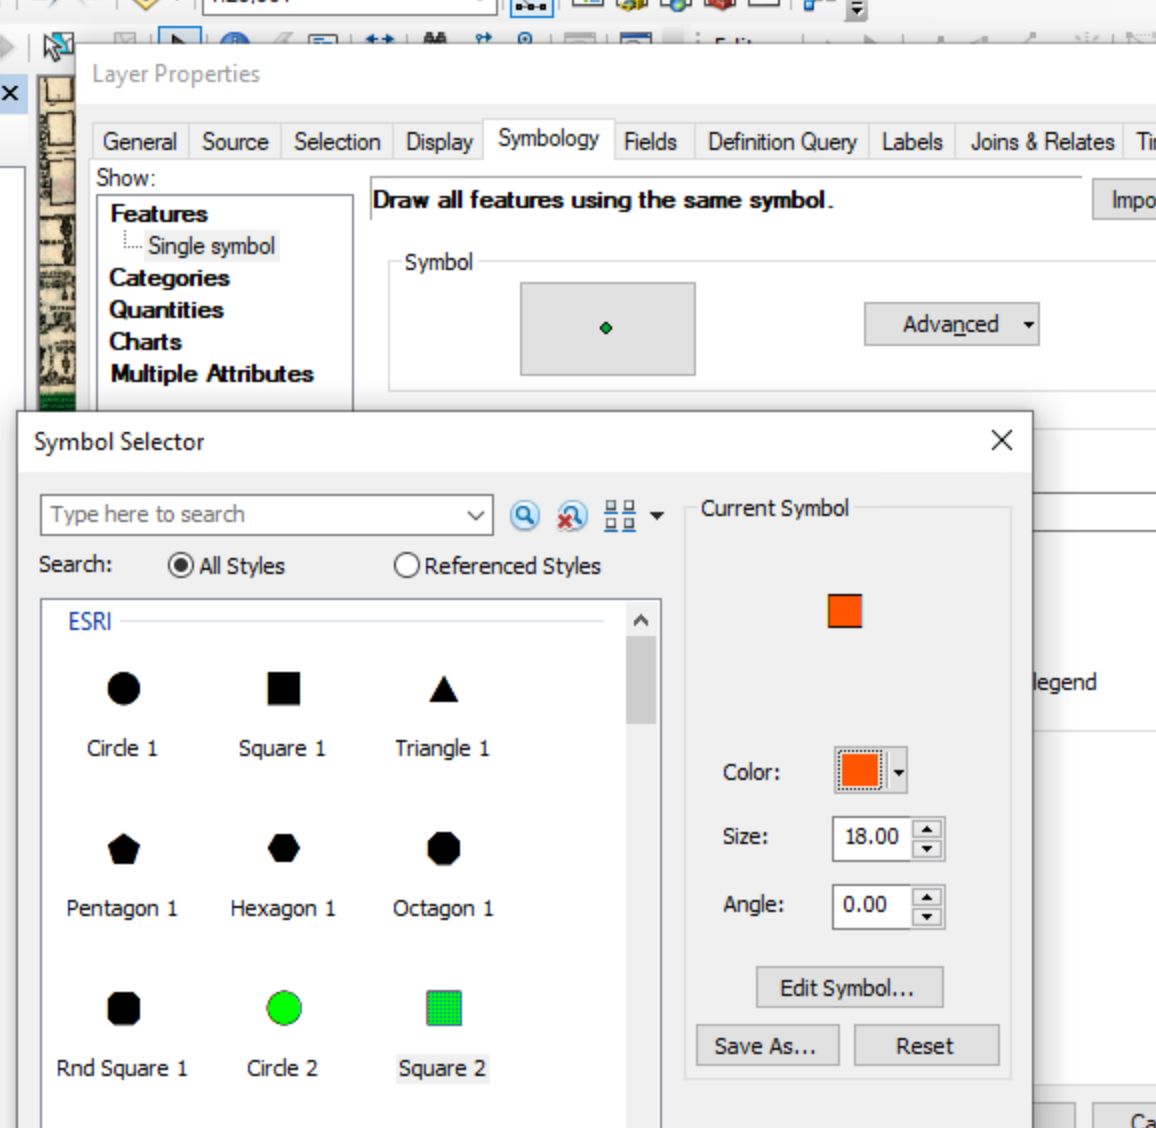
Once you have added some points you may want to change how they are displayed to make them easier to see against the Chicago map. To do this, right click on Chicago_parks in the Table of Contents pane and select Properties... at the bottom of the pop up menu. This will open the Layer Properties window to the General tab. Select the Symbology tab. Click on the Symbol point in the Symbol box to open the Symbol Selector dialog box. Then you can change the color to a color that is easier to see.
 |
 |
Editing Points
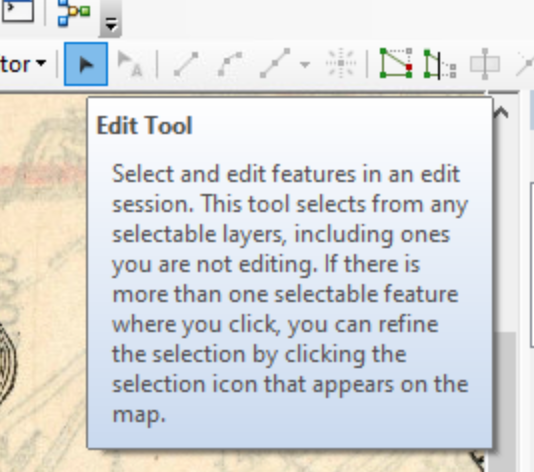
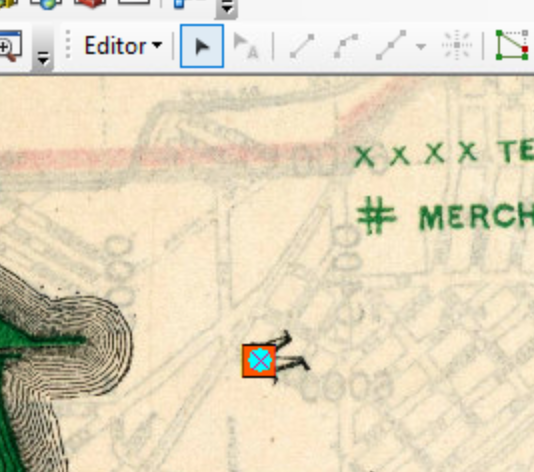
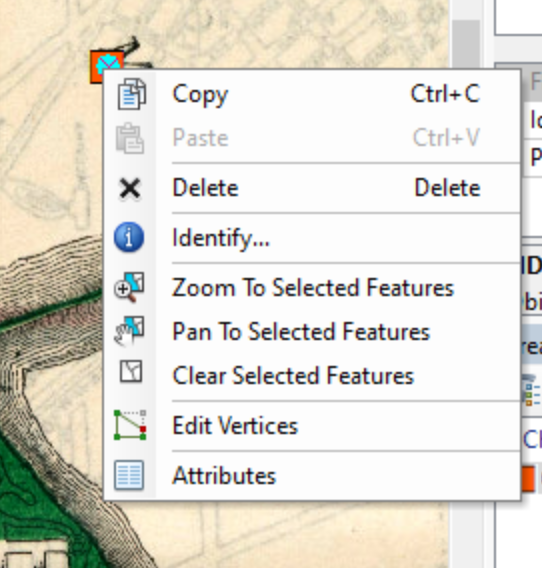
You may need to edit points, for example to change data in the fields or to change the location or delete an existing point. To do this you need to be in an edit session (Editor -> Start Editing). Click on the Edit Tool, which looks like an arrow and is located directly to the right of the Editor drop down. With the Edit Tool, you can click on a point to select it or click and drag to move it around. It will have a cyan dot in the center to show it has been selected. You can also right click on a point to open more actions (you will use this most often to delete a point).
 |
 |
 |
Adding and Deleting Fields in the Attribute Table
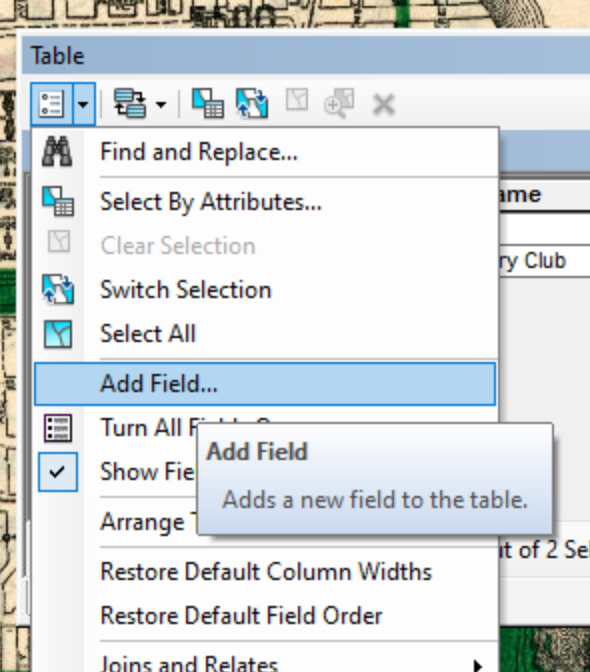
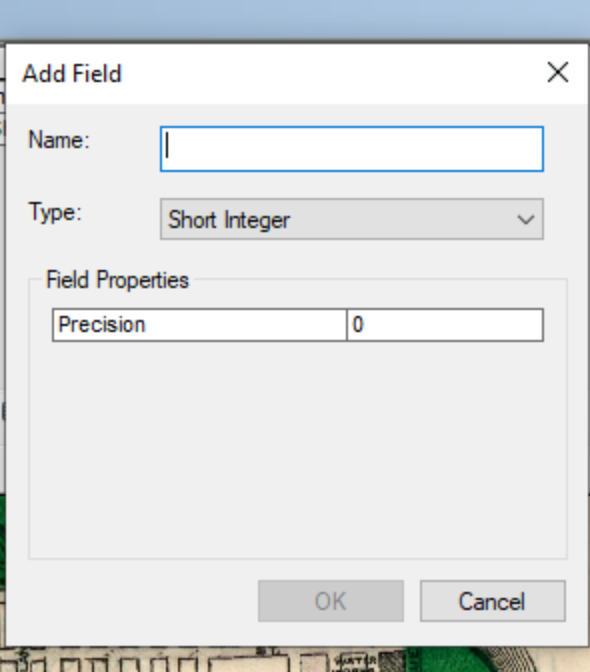
Finally, you may want to add or delete fields after you have added features. You can do this in the Attribute Table. First right click on the Chicago_parks.shp in the Table of Contents and select Open Attribute Table. You must not be in an edit session to add or delete fields. To add a field, click on the Table Options button and select Add Field.... In the Add Field window you can add the field name, type, and any field properties. To delete a field, right click on the field name in the Attribute Table and select Delete Field. Be very certain you want to do this! You can not undo a Delete Field action!
 |
 |
 |
Suggestions for Creating Shapefiles
Finally, here are a few suggestions for creating a Shapefile.
- Group
Shapefilesby object. For example, create oneShapefilefor parks and another separateShapefilefor universities. - Use fields to capture information that can be used to group objects within a
Shapefile. For example, you might have one field forPark_typewhich could bepublicorprivate. You could have another field forEstablishedwhich could contain the date each park was founded, orJurisdictionwhich would indicate which neighborhood the park belonged to. This can be better than having separateShapefilesparks in different categories.